Seals and gaskets are made from rubber because it is a flexible material that conforms to variations in a given surface.
The very properties that make rubber a good choice for seals, however, also make it very difficult to accurately measure. Some have likened measurement of rubber parts to measuring cooked spaghetti.
If rubber were a rigid material — like most metals and plastics — then conventional measurement devices like calipers, micrometers, and even coordinate measuring machines would be effective and accurate measurement devices. Those materials are firm enough that their deflection is nearly negligible when being measured.
Below are two pictures illustrating this phenomenon:
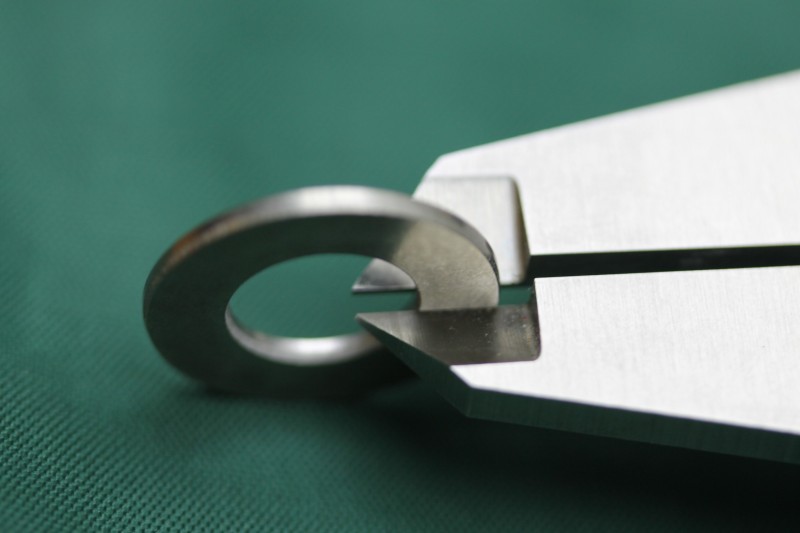
- The first is a steel washer being measured using a caliper. The caliper accurately measures the part because the washer does not deflect when the caliper comes into contact with it.
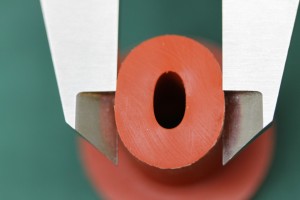
- The next picture is of a very soft rubber stopper being measured using a caliper. The original shape of the part is round, but the force from the caliper is deforming the part. This deformation will lead to an inaccurate measurement.

Pictured:
Left: Rigid metal washer showing no deflection
Right: Round, soft rubber stopper deflecting in caliper
Measurement technicians at Apple Rubber utilize Vision Measuring Machines (VMM’s) to accurately and consistently measure rubber part geometry. These machines use light to measure the edges of parts. There is no physical probe, jaw, or anvil touching the part to cause deflection.
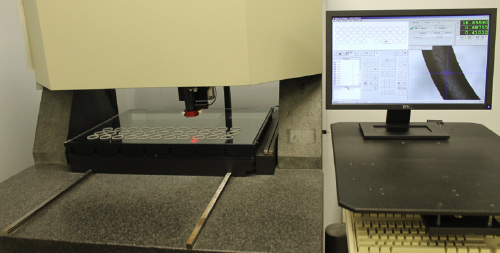
Below are several pictures of our VMM’s. They differ in make and capacity but use the same video and lighting technology to measure the parts. The software is capable of measuring many parts automatically, which saves operator time.
Automatic operation also increases repeatability and reproducibility, as the machine and software are making the determination of size as opposed to an operator, or different operators.
Gage R&R studies are conducted regularly and show that the equipment measures many different configurations of rubber parts consistently and accurately.
![]()
Pictured:
VMM 1 measuring a soft silicone stopper
The picture above shows VMM 1 being used to measure the geometry of a stopper. Notice that the part is not being deformed during measurement because there are no measuring devices touching and deforming the soft rubber.
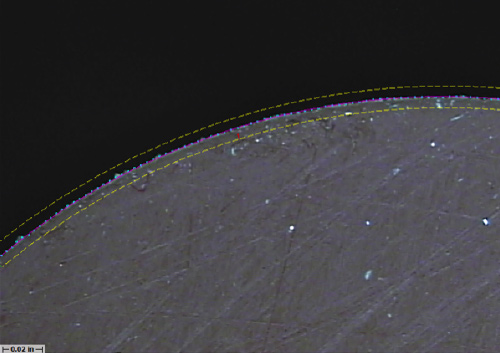
The picture below shows how the measurement device chooses the best edge. A measurement technician sets up parameters for the machine to measure and the machine and software work together to choose the best points. This eliminates operator error as well as operator-to-operator variation.
Pictured:
VMM 2 automatically measuring a series of clear O-rings
Some parts and part features lend themselves to measurement while constrained in a particular fixture. These fixtures are manufactured in our in-house mold-making machine shop and are later mated to a particular VMM.
The picture of VMM 3 below shows a fixture used to increase repeatability and decrease measurement time. The part shown is a soft silicone rubber gasket that would be difficult to measure without a fixture because the soft silicone rubber is so supple.
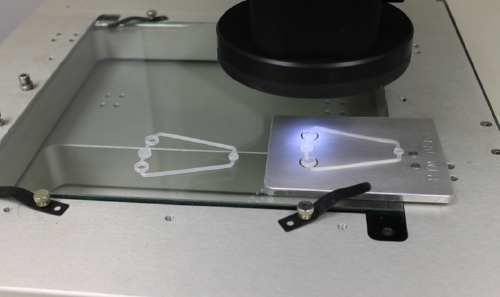
Pictured:
VMM 3 measuring a gasket while constrained in a custom measurement fixture
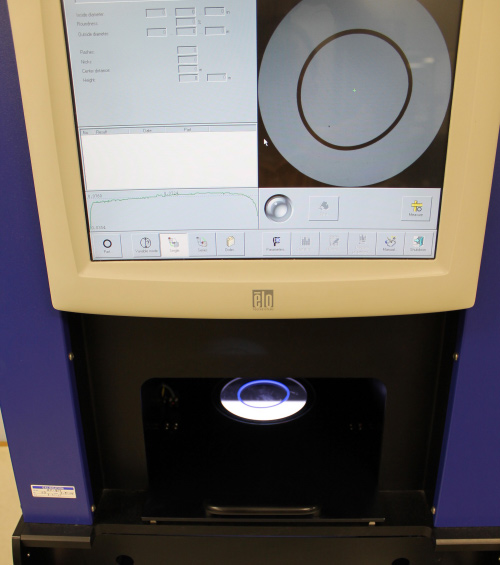
Pictured:
VMM 4 measuring a 20 durometer blue O-ring
All devices used to measure outgoing product are linked to a calibration system within our centralized manufacturing package. VMM’s are no exception. Every VMM undergoes calibration by both an outside service as well as our in-house laboratory calibration technicians.
The goal of our measurement technicians is to measure all rubber part geometry as accurately and efficiently as possible. VMM’s are the appropriate tool help realize that goal.
