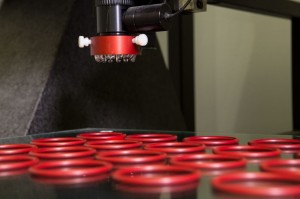
Our goal at Apple Rubber is to create quality products that meet or exceed our customer’s expectations. As part of this mission, we’ve invested resources in acquiring dimensional analysis equipment to ensure the most effective final inspection process.
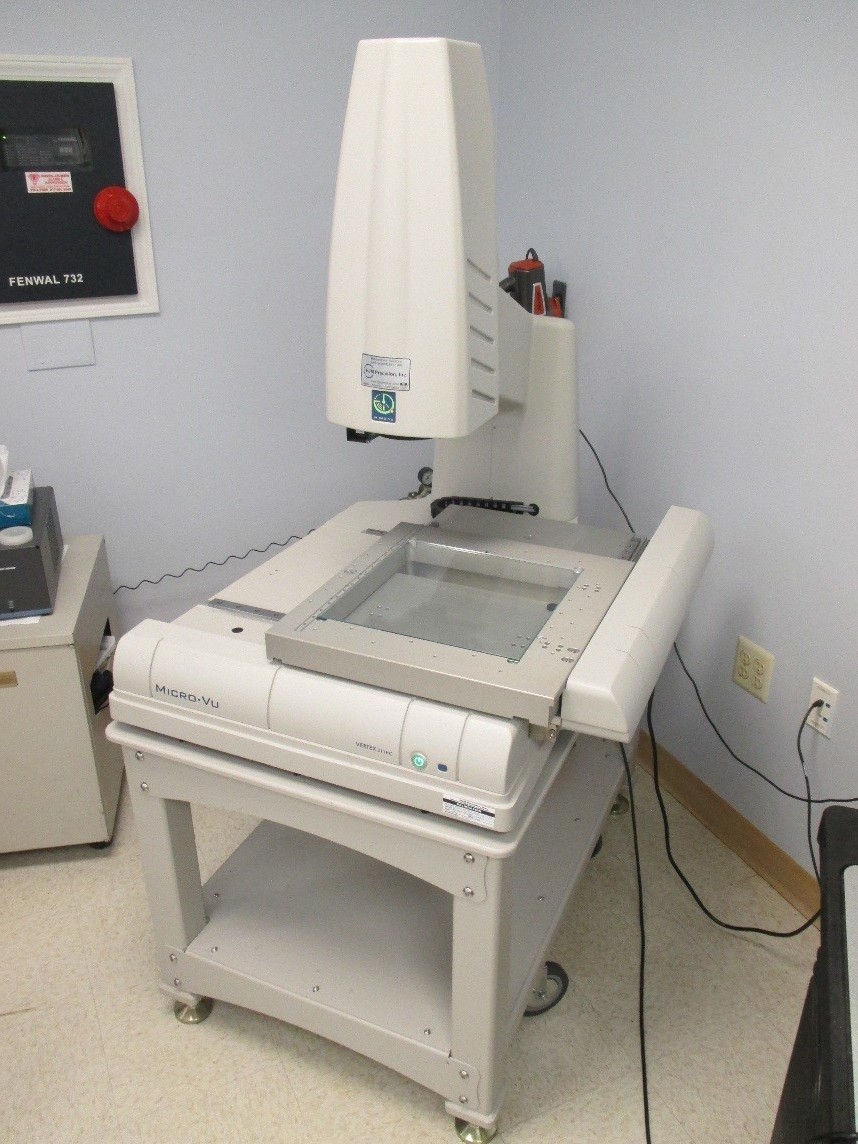
As the manufacturing industry evolves, so does the need and importance of automated measuring systems. At Apple Rubber, we conduct this task using the Micro-Vu Vertex Measuring Machine, more simply known as the Micro-Vu. Let’s walk through how it works.
Automated Measuring: Meet the Micro-Vu
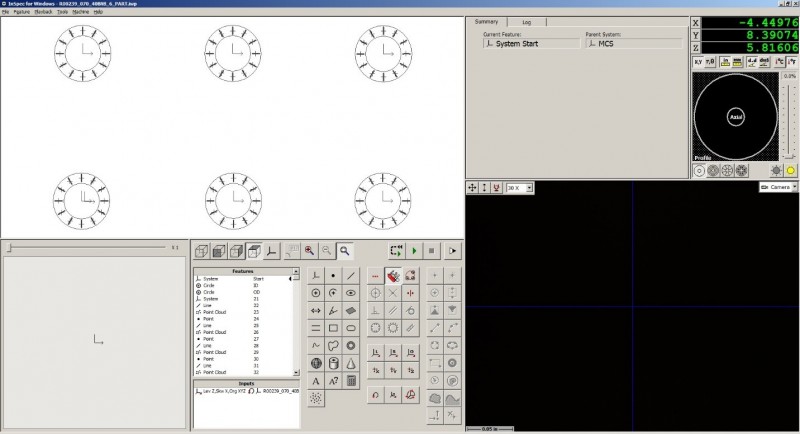
The InSpec software used by the Micro-Vu is designed to measure dimensions with high accuracy, trusted repeatability and minimal measurement time. The interface allows for operators to easily select the features they would like to measure as well as the measurement method for capturing the feature.
This also allows for a series of various features to be captured automatically via a program. Our programming technicians have been trained both on-site and at the distributor facility to understand the best possible methods of measurement for any given feature.
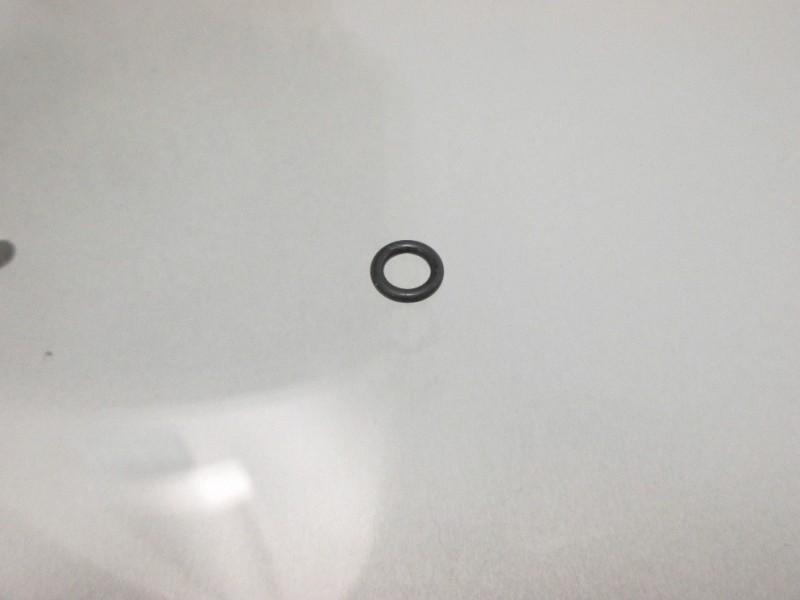
A variety of features can be used to dimension a single part placed on the stage. See the O-Ring in Figure 2 as an example. Using top-down imaging, the Micro-Vu is able to determine its inner diameter, outer diameter, cross section, height, flash extension and parting line mismatch.
These are the most routine part dimensions that we measure for outgoing O-Ring products, and all these dimensions can be measured on one machine without having to touch the part after placing it on the stage. A program can be created for this purpose.
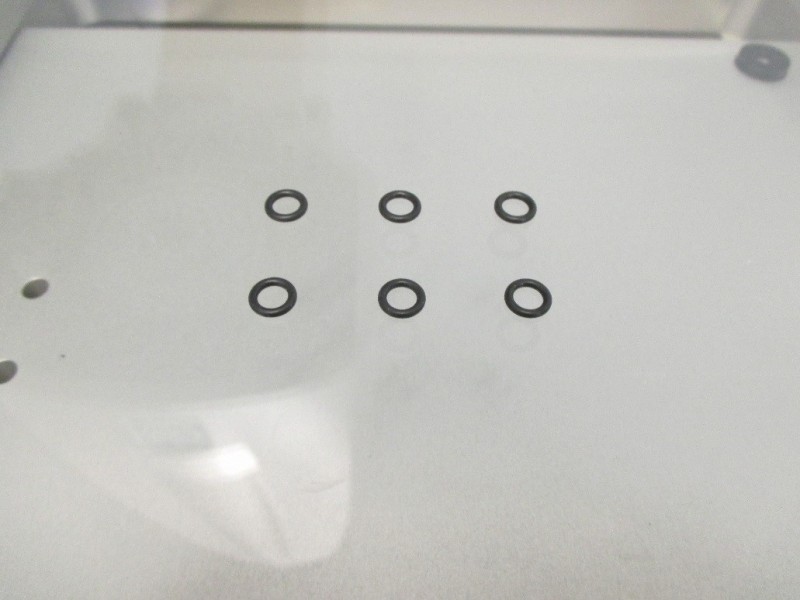
Multiple parts, like those in Figure 3, can be placed on the stage and measured either manually or automatically. One part is chosen as the reference, and the desired measurements are programmed into the command window. Lighting and focus determined for each measurement is specific to that measurement. This can be done manually, or there are settings that allow the software to automatically select the proper focus and light level for the objective.
Translating measurements with InSpec
After all measurements are designated, this series of measurements can be highlighted in the command window and translated to a line or a grid of parts. Using a ruler to space parts out evenly on the stage, the translation process will direct the objective to identify parts in these areas to begin measurements. From this, the program can be saved and reopened for new lots of material and multiple runs of each lot. See Figure 4 for an example.
Each program has the ability to display in tolerance and out of tolerance features. A grey feature has yet to be measured, a green feature is a measurement that is within tolerance, and a red feature is a measurement that is out of tolerance. This alerts a technician to part features that failed without having to either measure by hand or look through data after completion of a program. The program also has a stop function that will prevent the program from continuing if a feature cannot be measured. This occurs when a part is either out of focus, misaligned, or completely missing from the field of view. Programs can also be set to automatically print measurements as well as export the data via a CSV file.
Measuring custom parts with fixtures
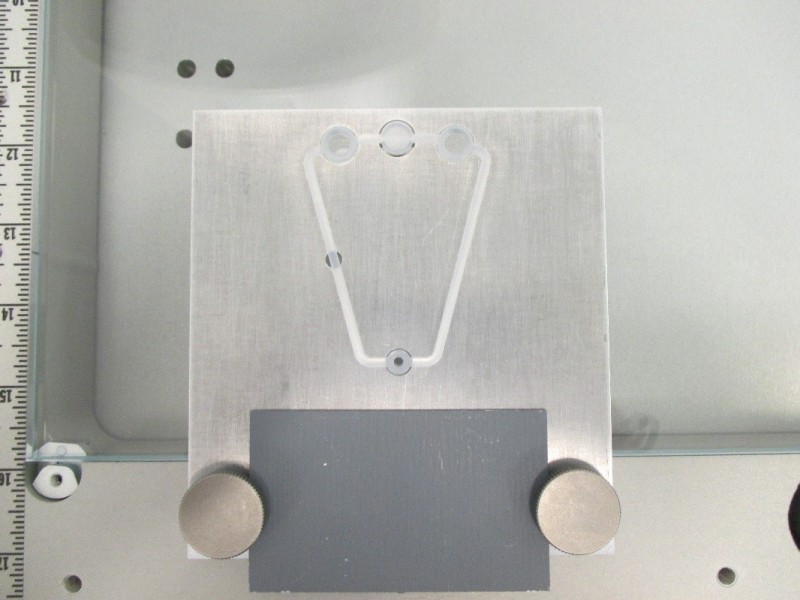
Fixtures are also used to measure custom-designed parts. An example is seen in the Figure 5. The fixture helps to orient the part in a manner that is easier for the Micro-Vu to take measurements, as well as to aid the technician when running the program. The fixture allows the objective to find features automatically when running the program for the part. Features on this part include a circle measurements for the disks and a distance measurement using a “best edge” tool. The arc tool can also be used to measure distances (such as diameter) or angles of curvature in parts.
The Micro-Vu is capable of fully dimensioning any finished good part it is presented. While only the basics have been covered in this article, there are many other features available for dimensioning all types of objects.
For more information on automated measuring and other dimensional analysis techniques, connect with us on Twitter or LinkedIn or contact our engineering team for assistance.
